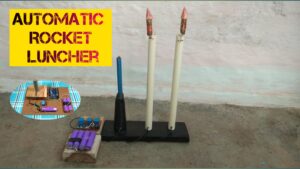
How to Make Fully Automatic Rocket Launcher
Material –
-
5v relay –
-
IN4007 Diode –
-
Nichrom Wire –
-
Lithium Ion Battery x 3
- Arduino Uno – https://amzn.to/3yWQBU0
-
Jumper Wire x 2 –
- PVC pipe –
- Wooden Box –
- Adapter Connector –
Tools –
- Soldring iron
- Glue Gun
- Rocket
- Missile
how can we make it –
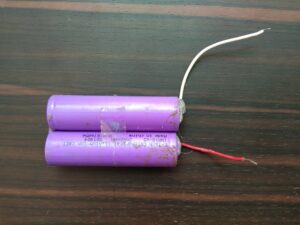
We connected two 3.7 volt batteries in series, making it a 7.4 volt battery. Now we can run the arduino with this battery. We have not taken a 9v battery because we cannot recharge it later.
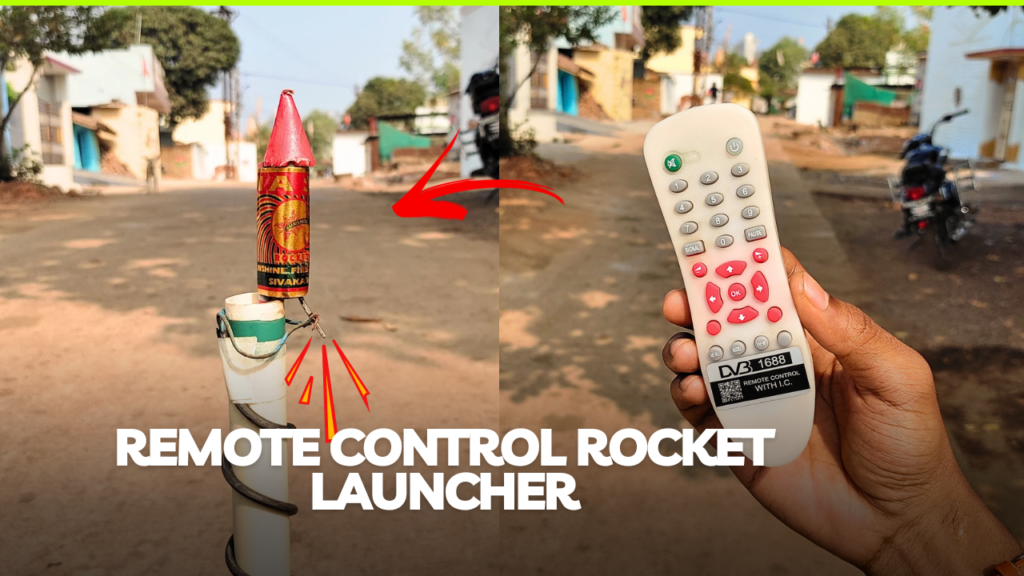
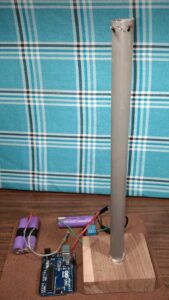
To make the rocket launcher pad, we are using a PVC pipe. You should keep the height of the PVC pipe such that the rocket can fit easily and fly easily.
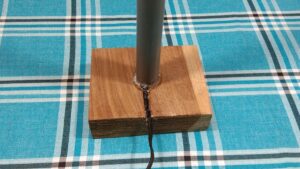
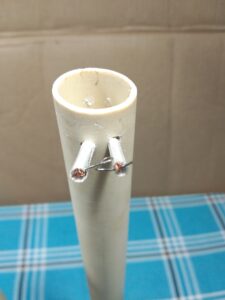
We have stuck the PVC pipe on a wooden box and also taken out two wires from it.

Now see the circuit diagram given below and make all the connections.
This is the Circuit Diagram of Arduino Timer Rocket launcher.
Circuit Diagram –
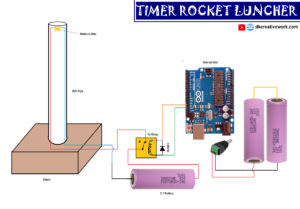
In the PVC pipe where we had wire coming out, you should attach nichrome wire as shown in this image. Joint the wire well because there is going to be a lot of heat here.
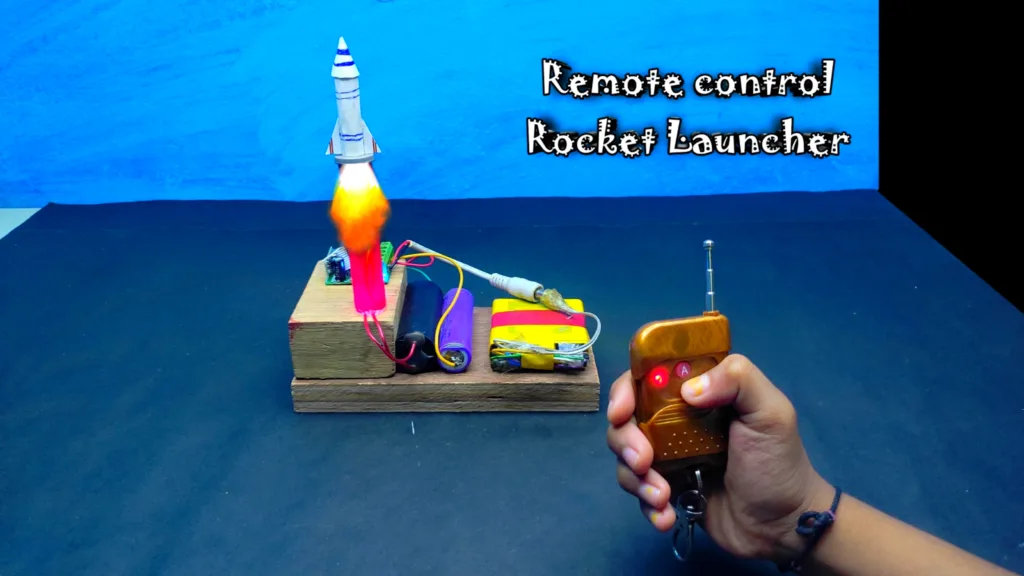
After making our automatic rocket launcher, it will look something like this, you can decorate it as per your choice.
Safety Precautions –
- Power up the rocket launcher only after the rocket or missile has been fitted into the rocket launcher.
- After powering up the rocket launcher do not touch the Nichrom Wire else your hand might get burnt.
- Do the wiring of the battery properly and carefully, if the Battery Wire gets short then the battery may explode.

